How to Make Easy Handmade Cards

Have you ever been given a beautiful card that you were in awe of? Or seen a beautiful card at the store and you wanted to recreate? Do you want to make something from the heart that you cannot get at the local drug store? So, how can I make a handmade card for someone special?
Handmade cards are one of our favorite craft projects because they are more than just a form of creative expression. They serve a practical purpose too! Gone are the days scrambling for expensive cards to acknowledge a loved one’s birthday or holiday. Because why waste money when you can craft a homemade card that lets your personality and crafting abilities shine through?
So, if you’re officially ready to add “handmade card-maker” to your crafting skills list, keep reading below! Today we’re going to talk you through how to make a handmade card and what materials you can use. Because even if you’ve never made a card before, you’ve probably already got all the talent and tools you need!
How to Make Your Very Own Handmade Card
Just like scrapbooking, creating handmade cards is a very personal process. There is no one “right” or “wrong” way to go about it. However, if you are a first-time card-maker, we’ve made a simple checklist to help guide you along.
1) Pick a Theme
First of all, what and who is your card intended for? Is it for someone’s birthday? Are they graduating? Is it Mother’s Day? Knowing the reason, you’re making the card can help you brainstorm some of the card’s foundational elements.

For instance, for a birthday card, consider incorporating bright colors, confetti, balloons, or a cake into the design. If it’s a graduation card, perhaps you want to theme it around one word like: “Congratulations.” Overall, knowing why you’re making the card can help you choose a color scheme and what materials to use.
2) Consider the Recipient
Of course, if you’re making a card, it’s got to go to somebody! Think about what this card’s recipient values. Do they love puns? Glitter? Animals?

Or maybe they would go gaga over a pop-up card (don’t worry, we’ll give you more intel on how to pull that one off below). Whatever it is, do your best to incorporate it into the card. The smile on their face when they receive it will make it worthwhile!
3) Decide on Your Card’s Focal Point
Every card has that one thing that makes it stand out above the rest. What is it going to be on your card? An eye-catching graphic? An elegant flower? A funny joke? A word written in oversized letters?

As a scrapbooker, it’s your job to pick a focal photo or area of each page. You’ll want to do the same on your handmade card. Figure out what your focal point will be and run with it.
4) Gather Your Materials
Keeping in mind your card’s theme and recipient, begin to take inventory of what materials you have on hand. (We’ve provided a cumulative list of suggested card materials below if you need some inspiration.)

However, knowing what you have on hand can help drive your card’s inspiration. For instance, if you have fake flower embellishments lying around, consider making your card’s theme floral.
Or, if you’re running low on materials, don’t forget how far you can get with some paper, pens, and tape. Cutting out shapes from paper or tape and adhering them to your card to create designs can be quite useful. As can drawing or painting design elements.
5) Layout Your Design and Execute
Once you’ve considered your card’s design elements, now it’s time to put it all together. Gather the necessary materials and begin to plan out your card.

Place embellishments where you’d like them, figure out how big your handwriting should be, etc. And remember, sometimes, less is more!
Homemade Card Ideas
We know that a step-by-step guide might be overwhelming for card-making beginners. And so, to help you with your first card-making venture here’s some homemade card inspiration as well.
Make it Interactive!
Get a little bit of decorative washi tape and tape on things the card’s recipient can use!
Like a candle, bag of confetti, or candy! These small items aren’t just practical; they can serve as the focal points of your card as well.
Play Around with Textures
Nothing catches someone’s eye more than a card with some texture. Consider using pom-poms (decoratively, or add a string to the bottom and make them “balloons”) or sprinkles (glue them to simulate a birthday cake or ice-cream cone topping) to add an exciting, festive look!

Even old, fake flowers lying around can be dismantled and glued on a card cover for a gorgeous floral accent!
Make Designs and Graphics in a Unique Way
Graduation caps, birthday cakes, balloons, confetti…these are often the visuals we see on cards. But that doesn’t mean you can’t craft them in your way!

Instead of purchasing themed stickers or embellishments, think outside of the box! Cut these shapes out of paper or washi tape. Create balloons from tissue paper or paint a minimalist cupcake in watercolor. Use stamps to make your eye-catching design. Cards come in all shapes, colors, and sizes, so don’t be afraid to make yours uniquely you!
Go 3-D!
As hard as a pop-up card sounds to make, you might be surprised once you give it a try. More specifically, in a landscape card, make an accordion fold down the center. Then, add a piece of double-sided tape and adhere to your desired pop up an element(s) before sealing the accordion fold.
Believe it or not, that’s all it took to create this adorable balloon pop-up card:
Use Other Crafters as Inspiration
Research online. Look at the card section of a store. Odds are with a bit of time and the materials below, and you can recreate them in your way. And, here are a couple of ideas that might just spark your inspiration right now:
and
Visit our card making ideas Pinterest board here.
What materials do I need to start making handmade cards?
Now that you know a little bit more about how to make handmade cards, you might be wondering if you need to invest in new materials to get started. The good news is many of the materials you might already own as a scrapbooker will be GREAT for making handmade cards.
So, check our materials list below to ensure your crafting toolkit is prepared to make cards for your next occasion, whether that’s a handmade birthday card, Christmas card, Mother’s Day card, or anything in between!
1) Patterned Paper
Just like any good scrapbook, a handmade card is only as vibrant as its paper! Patterned paper is a great way to make your cards brighter and more attractive. Plus, patterned paper tends to be thicker than traditional paper, allowing for your card to stand the test of time. Find some of our favorite patterned papers here:

![]()
and here:

![]()
2) Embellishments
Jewels, themed stickers, mini-paper-flowers, and there are so many options to take your handmade card to the next level. Embellishments add a personalized feel to your card, and odds are as a scrapbooker, you have a few on hand. If not, check out these cute family and friend themed stickers here:

![]()
and vibrant resin charms here:

![]()
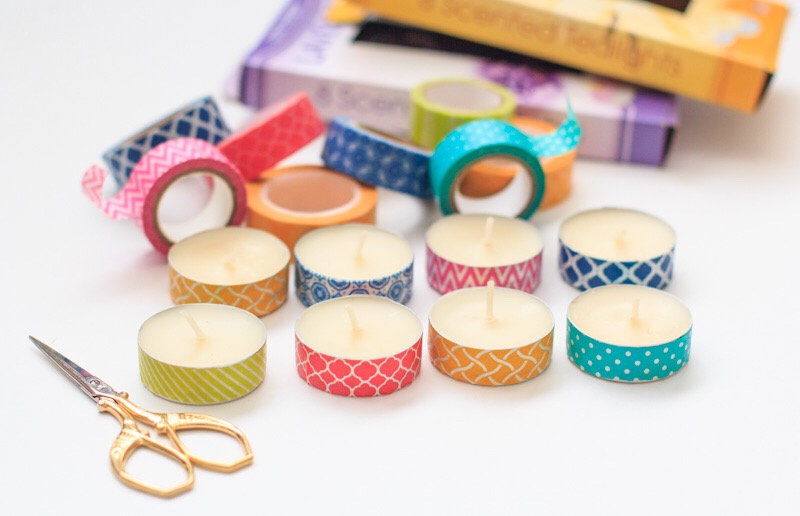
3) Washi Tape
Washi tape is all the rage in crafting these days, and it’s no secret as to why. This tape is cheap, decorative, safe, and functional. With just a little strip, your handmade card will go from boring to bright! You can even use washi tape to adhere a gift certificate or photo inside your card safely! We especially love these lace-inspired tapes:

![]()
and this diverse set, which includes three different tape sizes in 21 different patterns:

![]()
4) Pens and Markers
If you’re new to crafting, it might seem silly to talk about pens, but trust us, it makes sense! Using proper writing utensil when crafting is crucial! You want to ensure your finished handmade card has ink that is smudge-proof, eye-catching, and long-lasting. In fact, we even wrote an article about what our favorite “Different Types of Pens for Scrapbooking and Paper Crafts”. In it, we discuss which writing utensil might be for you, and recommendations of our favorite products!
5) Adhesives
Adhesives are the product you use to keep photos and embellishments in place on your finished projects. While every crafter has a different adhesive preference, remember to use one that is acid-free. This way, you’ll be sure your card lasts a long time. We love these mounting squares:

![]()
and crafter’s tape:

![]()
Also, check out our blog post, “Best Adhesives for Crafting”.
6) Stamps
Stamps are a fun, easy way to add a splash of color and personality to your handmade cards. Feel free to use them as a focal point, or part of your handmade card’s background design. Either way, your card recipient is sure to love it! Check out this vintage alphabet set if you like your crafts to have an antique feel:

![]()
Or this stamp set with modern decorations and special occasion phrases:

![]()
7) Inks
A set of stamps is only as good as their ink pads! And this set of 20 high-quality colored ink pads certainly won’t disappoint:

![]()
8) Envelopes
As a current scrapbooker, one craft supply you might not already have in your arsenal is envelopes. But of course, when it comes to handmade cards, envelopes are a must! Not only do they protect your creation, but they also offer yet another canvas to decorate and express your creativity. P. S. Before purchasing envelopes, keep in mind the size of card you intend on making. However, you certainly can’t go wrong with these kraft envelopes for a vintage feel:

![]()
Or this fun pack of modern, assorted colors:

![]()
9) Die Cutting
As you might already know from scrapbooking, die-cutting is a great way to add more dimension to your crafting. And handmade cards are no different. With your favorite die-cutting machine, you can add a textured edge, paper lettering, or design elements to your card. For more information on die-cutting machines, i.e., electronic vs. manual, check out our previous article, “Best Die Cutting Machines”.
10) Embossing Folders
Going hand-in-hand with die-cutting, embossing folders will give your handmade card texture. Put the base paper of your card into an embossing folder to press in designs. Or add some ink too to make your handmade card texturized and colorful! Check out this set of embossing folders, which are perfect for congratulatory or birthday handmade cards, here:

![]()
Or opt for a more elegant, floral style with this product:

![]()
By the way, have you attempted to make your handmade card? What cards have you made? Were you happy with the final result?
Card-making is extremely fun and satisfying, and we encourage you to give it a try as soon as you can! We’d love to hear all about it in the comments below!
Also, share your creations on our Facebook page and Instagram and don’t forget to check out our Pinterest boards for some great inspiration.
Have a wonderful time Crafting!
Iva
Below is a Pinterest Friendly Photo so you can pin it to your Crafting Boards with ease!
